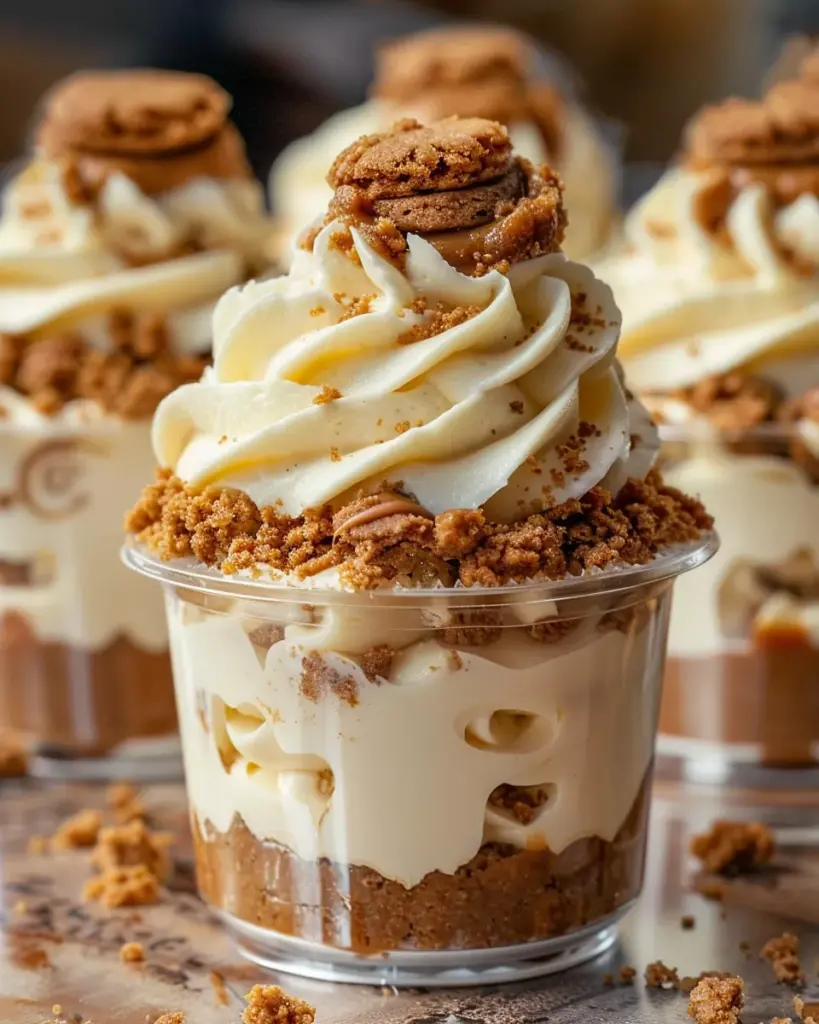
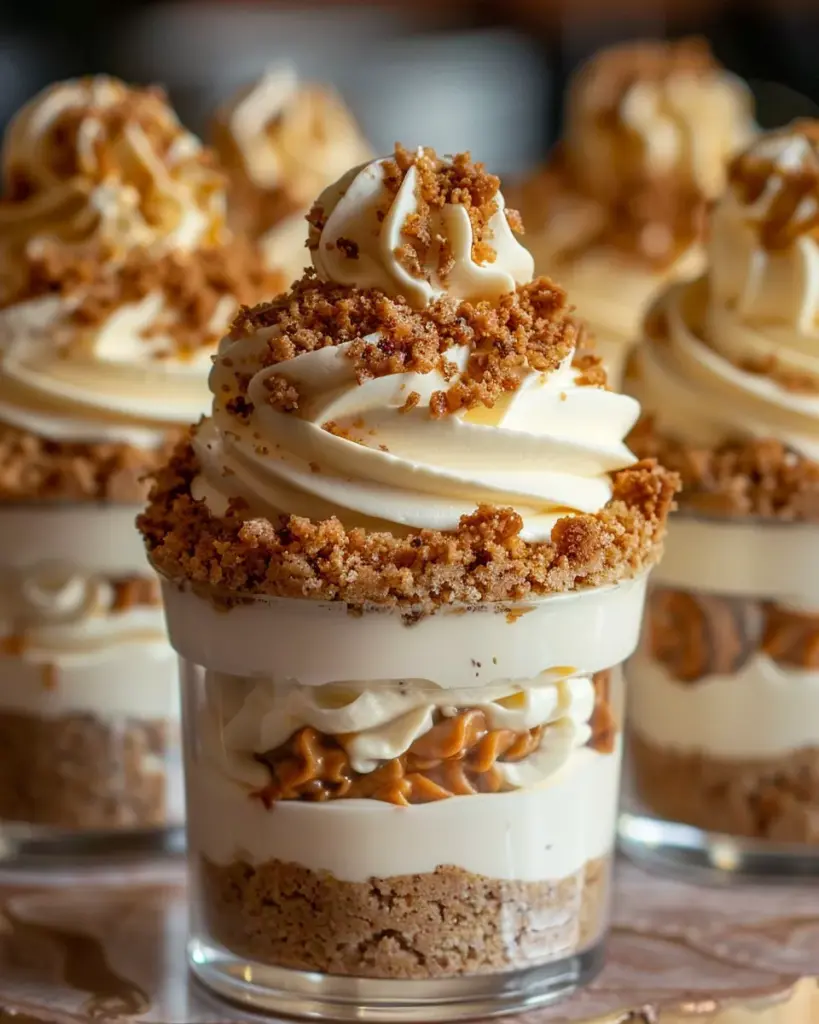
Cookie Butter Cheesecake Cups
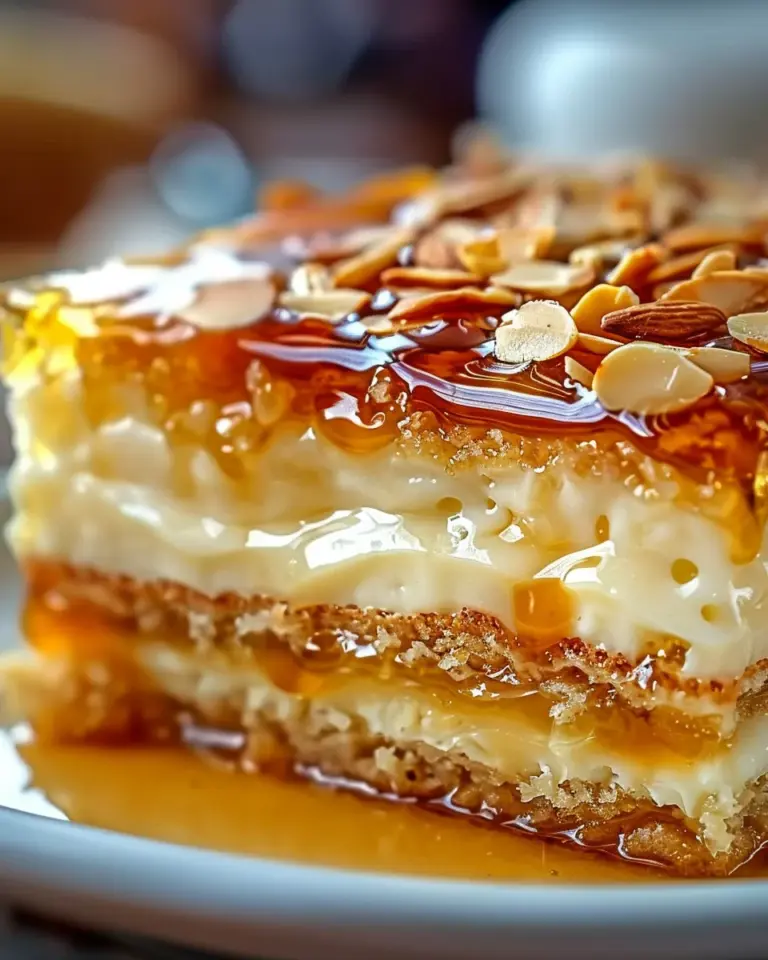
Craving a creamy, indulgent dessert that’s effortless to make and impossible to resist? Cookie Butter Cheesecake Cups deliver the perfect no-bake solution. These luscious layered treats combine velvety cheesecake mousse, a buttery cookie crumb crust, and swirls of rich, spiced cookie butter.
Whether you’re preparing for a party, setting a festive dessert table, or simply treating yourself to something sweet, these cheesecake cups are a standout. Their individual servings make them practical and elegant, with each cup showcasing gorgeous layers of flavor and texture. No oven required—just a few quality ingredients and minimal prep.
What makes this dessert irresistible?
- No baking required – quick and convenient
- Beautiful presentation in individual cups or jars
- Rich and creamy cheesecake mousse texture
- Signature spiced cookie butter flavor
- Perfect for make-ahead entertaining
With simple tools and easy-to-follow steps, anyone can whip up these showstopping Cookie Butter Cheesecake Cups—no baking experience needed.
Preparation Phase & Tools to Use
Creating the perfect no-bake dessert starts with smart preparation. Here’s everything you need to make your cheesecake cups come together flawlessly.
Essential Tools and Equipment
- Mixing bowls (1 large, 2 medium)
- Hand mixer or stand mixer (or sturdy whisk for manual mixing)
- Rubber spatula
- Measuring cups and spoons
- Dessert cups, clear jars, or small glasses
- Piping bag or zip-top bag (optional for neater filling)
- Microwave-safe bowl (for melting cookie butter)
- Refrigerator space for chilling
Importance of Each Tool
- Mixing bowls: Separate your crust, whipped cream, and filling components for easier prep.
- Hand mixer or whisk: Proper whipping of heavy cream creates the airy mousse consistency.
- Rubber spatula: Ensures gentle folding to keep the mousse light and fluffy.
- Clear cups or jars: Let the beautiful layers show through and make individual servings easy.
- Piping bag: Optional, but helps with clean and precise layering.
Preparation Tips
- Softening cream cheese: Let it sit at room temperature for 30–45 minutes before mixing to avoid lumps.
- Cold cream for whipping: Use chilled heavy cream to whip faster and hold peaks better.
- Chill time: Build in at least one hour for chilling, ideally more for optimal texture.
- Work clean: Organize ingredients, prep garnishes ahead, and keep surfaces tidy for efficient assembly.
Ingredients – What You’ll Need
| Ingredient | Amount | Purpose |
|---|---|---|
| Biscoff or speculoos cookie crumbs | 1 cup | Forms the crust |
| Melted butter | 3 tbsp | Binds the cookie crumbs |
| Cream cheese (softened) | 8 oz | Cheesecake base |
| Powdered sugar | ¾ cup | Sweetens the filling |
| Cookie butter | ½ cup + extra | Signature flavor + drizzle |
| Vanilla extract | 1 tsp | Adds warm flavor depth |
| Heavy whipping cream | 1 cup | Whipped for mousse texture |
| Optional garnish: Extra cookies | As desired | Decoration and crunch |
Ingredient Notes:
- Use full-fat cream cheese for best texture.
- Substitute Biscoff with gingersnap cookies if needed.
- Use smooth cookie butter—not crunchy—for easy blending.
- Optional: add a pinch of cinnamon to the crust for extra spice.
Step-by-Step Directions
Follow these simple steps to create decadent Cookie Butter Cheesecake Cups with perfect layers and irresistible flavor.
- Prepare the crust:
Combine 1 cup cookie crumbs with 3 tablespoons melted butter in a small bowl. Mix until crumbs are moistened. Spoon a layer into the bottom of each dessert cup. Press lightly to form a base.
Tip: Avoid packing the crust too tightly; keep it crumbly for a better texture. - Whip the cream:
In a chilled mixing bowl, whip 1 cup heavy cream to soft peaks using a mixer or whisk. Set aside.
Tip: Use cold cream and tools for quicker whipping. - Mix the filling:
In a large bowl, beat 8 oz softened cream cheese, ¾ cup powdered sugar, ½ cup cookie butter, and 1 tsp vanilla extract until smooth and creamy.
Tip: Ensure cream cheese is fully softened to prevent lumps. - Fold in whipped cream:
Gently fold the whipped cream into the cheesecake mixture using a rubber spatula. Fold in thirds to maintain the mousse texture.
Tip: Use gentle motions to avoid deflating the mixture. - Assemble the layers:
Spoon or pipe the cheesecake filling over the prepared crust layer in each cup. Drizzle a small amount of melted cookie butter over the filling.
Optional: Warm the cookie butter slightly in the microwave for easier drizzling. - Repeat layers:
Add another layer of crumbs and cheesecake filling if desired, ending with the filling on top. Smooth the tops with a spoon or piping bag.
Variation: Create thinner layers for a more elegant presentation. - Garnish:
Sprinkle extra cookie crumbs or top each cup with a whole Biscoff cookie.
Tip: Add the garnish just before serving for optimal crunch. - Chill and serve:
Refrigerate for at least 1 hour before serving. Cups can be made up to 24 hours in advance.
Tip: Cover cups loosely with plastic wrap to prevent absorbing fridge odors.
Serving Suggestions
Serving Cookie Butter Cheesecake Cups is as much about presentation as it is about flavor. These individual desserts offer flexibility and elegance, making them ideal for a variety of occasions.
Best Presentation Ideas
- Use clear dessert cups or jars to highlight the beautiful layers.
- Add a drizzle of warmed cookie butter on top for a glossy finish.
- Garnish with a whole Biscoff cookie, cookie crumbs, or a light dusting of cinnamon.
- For an elevated look, top with a dollop of whipped cream and a mint leaf.
Perfect Serving Temperature
- Serve chilled straight from the refrigerator.
- Remove from the fridge 5–10 minutes before serving for optimal texture.
- If frozen, allow to thaw in the fridge overnight, then top with fresh garnishes.
Ideal Occasions
- Holiday gatherings
- Dinner parties
- Baby showers or bridal showers
- Potlucks
- Weeknight dessert treat
Suggested Beverage Pairings
- Strong coffee or espresso
- Lightly sweet dessert wine (like Moscato or Riesling)
- Spiced chai or herbal tea
- Cold milk for a classic pairing
Portioning Tips
- Recipe yields 4–6 servings depending on cup size.
- For tasting portions, use smaller cups or mini dessert shot glasses—yielding 8–10 portions.
Common Mistakes to Avoid & How to Perfect the Recipe
Even a simple no-bake dessert has its pitfalls. Avoid these common mistakes to ensure your Cookie Butter Cheesecake Cups turn out perfect every time.
Mistake 1: Using Cold Cream Cheese
Problem: Cold cream cheese doesn’t blend smoothly, leading to lumps.
Fix: Let cream cheese soften at room temperature for 30–45 minutes before mixing.
Mistake 2: Over-Whipping the Cream
Problem: Whipped cream becomes grainy or turns into butter.
Fix: Stop whipping when soft peaks form and the cream holds its shape.
Mistake 3: Folding Too Vigorously
Problem: Deflates the mousse, making the filling dense.
Fix: Gently fold the whipped cream into the cheesecake mixture with a rubber spatula using broad, sweeping motions.
Mistake 4: Not Chilling Long Enough
Problem: The mousse won’t set properly, resulting in a loose texture.
Fix: Chill for at least 1 hour; 2–3 hours is better for firmer results.
Mistake 5: Applying Hot Cookie Butter Drizzle
Problem: Hot drizzle melts through the filling, ruining the layers.
Fix: Let the melted cookie butter cool slightly before drizzling.
Mistake 6: Using Low-Fat Ingredients
Problem: Results in less creamy texture and potential separation.
Fix: Use full-fat cream cheese and heavy cream for structure and flavor.
Mistake 7: Crust Too Crumbly or Too Firm
Problem: Crust may fall apart or be hard to eat.
Fix: Use correct butter ratio and press the crumbs lightly—not too hard, not too loose.
Side Dish Recommendations
Complement Cookie Butter Cheesecake Cups with side dishes and accompaniments that enhance their rich, spiced flavor. These suggestions work well for dessert tables, brunch spreads, or multi-course menus.
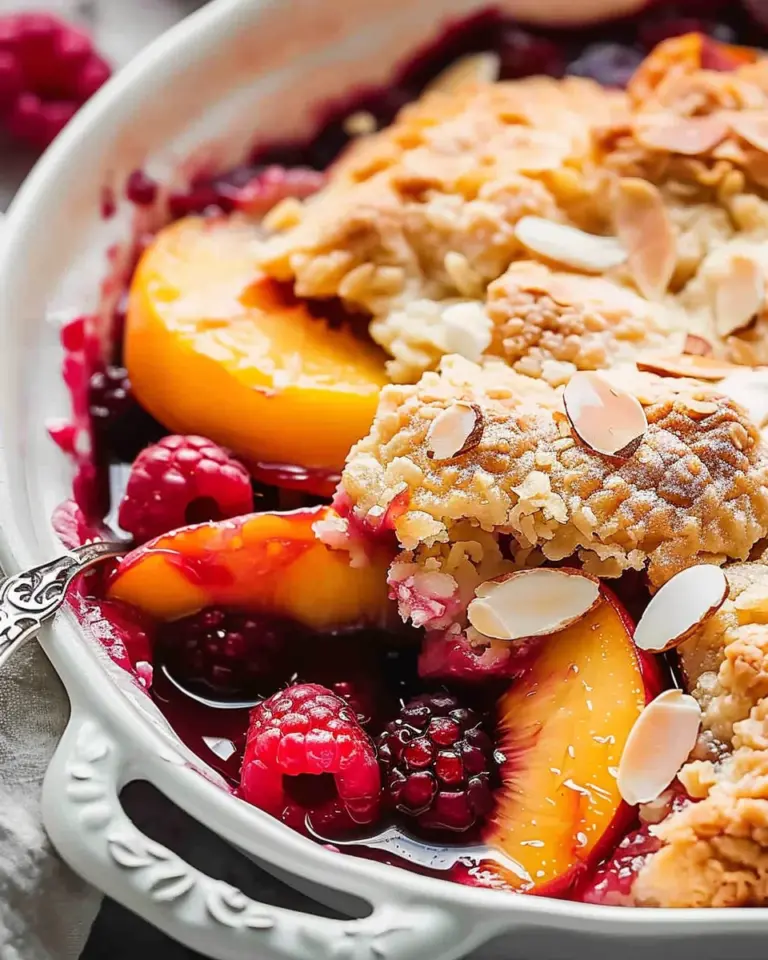
Fresh Berry Medley
A mix of raspberries, blueberries, and strawberries provides a refreshing and tart counterpoint to the sweet cheesecake.
Salted Caramel Sauce for Drizzling
Offer as an additional topping to deepen the flavor and contrast the spiced cookie butter with a hint of salt.
Espresso or Coffee Shot
Strong coffee brings out the deep spice notes in the cookie butter and cleanses the palate between bites.
Whipped Cream or Vanilla Bean Chantilly
Add a spoonful of light, sweetened whipped cream infused with vanilla to balance the density of the mousse.
Mini Chocolate Bark Pieces
Thin shards of dark chocolate with a touch of sea salt or nuts offer crunch and visual contrast.
Caramelized Pecans or Walnuts
Nutty, sweet, and crunchy—these add texture and richness, playing beautifully with cookie butter.
Cinnamon-Sugar Cookie Sticks
Serve alongside the cups for a dipping element or as a crunchy garnish to echo the cookie base.
Fresh Mint Leaves & Citrus Zest
Brighten the flavor and presentation with sprigs of mint and a light dusting of lemon or orange zest.
Recipe Tips, Storage and Reheating Instructions
These extra tips will help ensure your Cookie Butter Cheesecake Cups come out flawless and maintain their quality after storage.
Recipe Tips
- Use high-quality cookie butter like Biscoff for maximum flavor impact.
- Crush cookies to an even consistency—not too fine, so the crust retains some texture.
- Don’t over-whip the cream—stop at soft peaks for the ideal mousse consistency.
- Layer with care—alternate textures and avoid overfilling the cups.
- Pipe the filling if you want neat, clean layers in clear cups.
Storage Instructions
- Refrigeration: Cover the cups with plastic wrap or use containers with lids. Store in the fridge for up to 4 days.
- Make-ahead: Assemble the cups up to 24 hours in advance for best texture and convenience.
- Avoid garnishing early: Wait to add cookies or toppings until just before serving to preserve crunch and presentation.
Freezing Instructions
- You can freeze the assembled cups (without toppings) for up to 1 month.
- Use an airtight container and avoid overfilling the cups.
- To serve, thaw overnight in the fridge, then top with fresh garnishes before serving.
Reheating / Serving After Storage
- No reheating is required, as this is a chilled dessert.
- Remove from fridge 5–10 minutes before serving to slightly soften the mousse.
- If frozen, ensure cups are fully thawed in the refrigerator before garnishing and serving.
- If the crust feels soggy, add a small sprinkle of fresh cookie crumbs on top just before serving.
Frequently Asked Questions (FAQs)
Can I use peanut butter instead of cookie butter?
Yes, peanut butter can work in place of cookie butter, but it will alter the flavor. Cookie butter provides a unique spiced profile that’s central to this recipe.
Can I make these cheesecake cups gluten-free?
Absolutely. Use gluten-free cookie crumbs (such as gluten-free gingersnaps) and ensure the cookie butter is certified gluten-free.
Do I need to bake the crust?
No. These cheesecake cups are fully no-bake. The melted butter holds the cookie crumbs together, and chilling helps them set.
How far in advance can I prepare these?
You can make them up to 24 hours in advance and store them in the refrigerator. For longer storage, freeze without toppings for up to 1 month.
Why didn’t my mousse set properly?
Several factors may be at play:
- The heavy cream was not whipped to soft peaks.
- Cream cheese was too cold or not blended thoroughly.
- Cups weren’t chilled long enough.
Fix by following temperature guidelines and chilling for at least 1–2 hours.
What can I use instead of Biscoff cookies?
You can substitute:
- Gingersnaps
- Graham crackers
- Speculoos cookies from other brands
Choose cookies that are crisp and have warm spice notes to complement the filling.