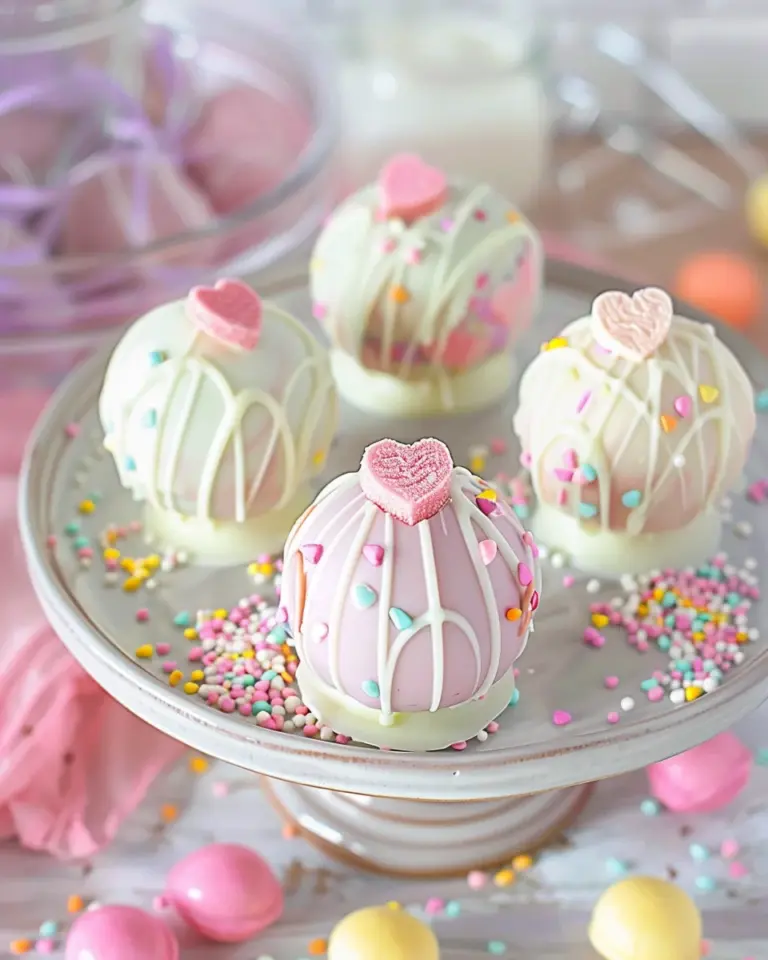
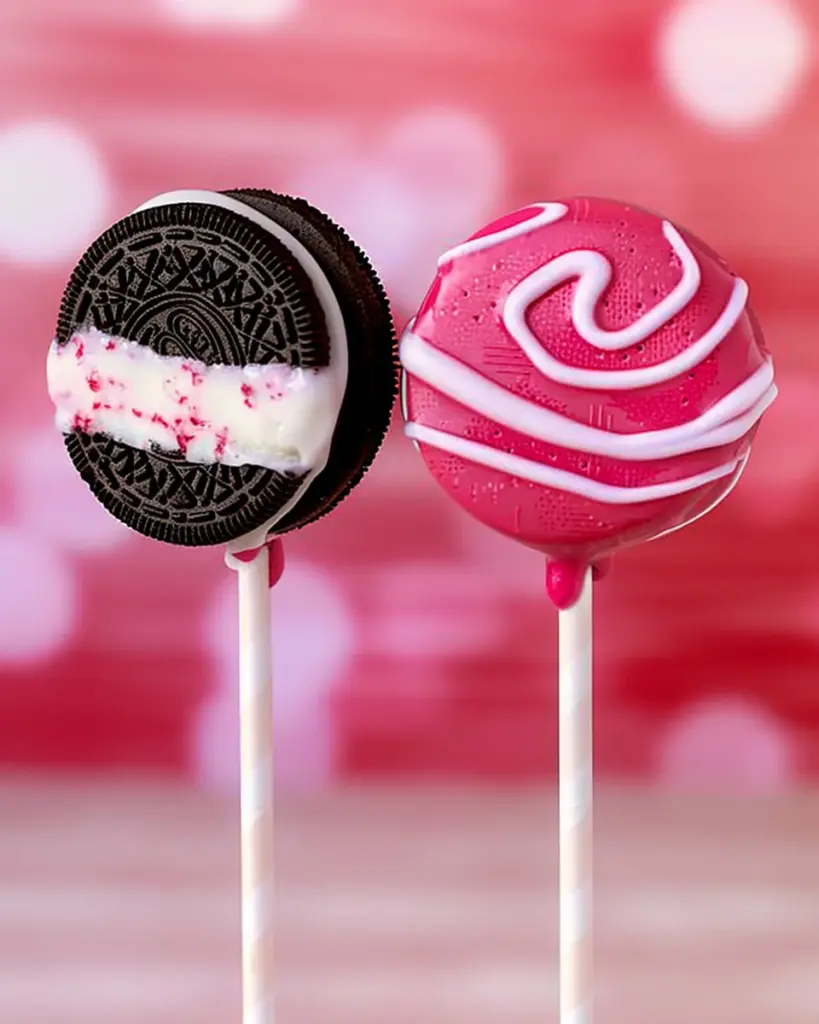
Valentine’s Day Oreo Pops
These delightful Valentine’s Day Oreo Pops are the perfect sweet treat for any celebration. With their bright colors and festive sprinkles, they not only taste great but also look stunning on any dessert table. Easy to make and customizable, these pops are ideal for school parties, family gatherings, or a fun night in with friends. In just a few simple steps, you can create charming treats that will surely impress your loved ones.

Why You’ll Love This Recipe
- Quick and Easy: These pops come together in minutes, making them an excellent choice for last-minute occasions.
- Customizable: Use your favorite candy melt colors and sprinkles to make these pops uniquely yours.
- Fun Activity: Perfect for kids or parties, this recipe is a fun way to get everyone involved in the kitchen.
- Great Gift Option: Package them up for a thoughtful yet simple gift that friends and family will adore.
- Festive Presentation: The vibrant colors and decorations make these pops eye-catching and delightful for Valentine’s Day.
Tools and Preparation
Before you dive into making these Valentine’s Day Oreo Pops, gather your tools. Having everything ready will streamline the process.
Essential Tools and Equipment
- Microwave-Safe Cups
- Lollipop Sticks
- Parchment Paper
- Disposable Candy Piping Bag (optional)
Importance of Each Tool
- Microwave-Safe Cups: Ideal for melting candy melts safely without damaging the container.
- Parchment Paper: Prevents sticking and makes cleanup easy when cooling the Oreo pops.
- Lollipop Sticks: Essential for turning Oreos into fun pops; they add a playful touch to the treats.
Ingredients
These cute Valentine’s Day Oreo pops take only a few minutes to make, and they make a great classroom treat idea for your friends!
- Oreo Cookies
- 4 Lollipop Sticks
- Candy Melts (red, bright pink and bright white)
- Sprinkles (jumbo hearts, mini hearts, and sugar pearls)
- 3 Microwave-Safe Cups
- Disposable Candy Piping Bag (optional, for drizzle decorations)
- Parchment Paper
How to Make Valentine’s Day Oreo Pops
Step 1: Prepare the Oreos
- Start by twisting and separating the Oreos into two halves.
- In a microwave-safe cup, melt a small amount of candy melts (any color) in 20-second increments. Stir well after each increment.
- Dip the end of a lollipop stick into the melted candy.
- Sandwich the stick between both halves of the Oreo.
- Allow the candy to cool completely before moving on to the next step. If you’re in a hurry, place them in the freezer briefly.
Step 2: Coat with Candy Melts
- Fill another microwave-safe cup about 2/3 full of red candy melts.
- Melt them in the microwave using 20-second increments again until smooth.
- Dip each Oreo pop into the red candy until it is completely covered.
- Lay the cookie pop on parchment paper to cool and firm up.
- While still wet, add sprinkles as desired.
- Repeat this process with additional colors of candy melts if you choose.
Now you have beautiful Valentine’s Day Oreo Pops ready to share! Enjoy making these fun treats with loved ones or at your next gathering!
How to Serve Valentine’s Day Oreo Pops
Valentine’s Day Oreo pops are not only delicious but also visually appealing. They can be served in various fun and creative ways, making them perfect for any celebration or gathering.
Creative Presentation Ideas
- Cupcake Stand Display: Arrange the Oreo pops on a tiered cupcake stand for an eye-catching centerpiece.
- Mason Jar Treats: Place the pops in mason jars filled with decorative filler to create charming party favors.
- Themed Plates: Use heart-shaped plates to enhance the festive vibe when serving your treats.
- Gift Wrapping: Wrap individual Oreo pops in cellophane bags tied with ribbons for sweet gifts.
Fun Serving Suggestions
- Dessert Table Addition: Include your Oreo pops as part of a larger dessert table featuring other treats.
- Classroom Treats: These pops make fantastic treats for school celebrations, especially when packaged securely.
- Party Favors: Send guests home with Oreo pops wrapped in cute packaging as memorable favors.
How to Perfect Valentine’s Day Oreo Pops
To ensure your Valentine’s Day Oreo pops turn out perfectly, follow these tips for best results.
- Use Quality Ingredients: Choose high-quality Oreos and candy melts for the best flavor and appearance.
- Control Melting Temperature: Melt candy melts slowly to avoid burning; use 20-second intervals in the microwave.
- Add Sprinkles Quickly: Apply sprinkles while the candy coating is still wet to ensure they stick well.
- Chill Between Steps: If you’re layering colors, chill between steps to prevent mixing and maintain clean lines.
Best Side Dishes for Valentine’s Day Oreo Pops
While these Valentine’s Day Oreo pops are delightful on their own, pairing them with complementary sides can elevate your dessert experience. Here are some great side dish suggestions.
- Chocolate-Covered Strawberries: Juicy strawberries coated in chocolate provide a fresh and rich contrast.
- Red Velvet Cupcakes: These classic cupcakes add a beautiful pop of color and flavor that pairs well with Oreos.
- Vanilla Ice Cream: A scoop of creamy vanilla ice cream can balance out the sweetness of the pops.
- Fruit Salad: A light and refreshing fruit salad can offer a healthy option alongside your sweet treats.
- Cheesecake Bites: Mini cheesecake bites are rich and decadent, making them a perfect pairing with lighter desserts.
- Heart-Shaped Cookies: Sugar cookies shaped like hearts enhance the Valentine’s theme while providing a different texture.
Common Mistakes to Avoid
Making Valentine’s Day Oreo Pops can be a fun and easy process, but there are common pitfalls to watch out for. Here are some mistakes to avoid:
- Skipping the Cooling Process: Rushing through cooling can lead to messy pops. Allow the melted candy to firm up completely before moving on.
- Not Using Enough Candy Melts: If you don’t have enough melted candy, you might not get full coverage. Always fill your cup about 2/3 full for optimal dipping.
- Forgetting the Sprinkles: Adding sprinkles after the candy hardens makes them fall off. Sprinkle while the coating is still wet for a beautiful finish.
- Overheating the Candy Melts: Microwaving too long can scorch the melts. Use short increments of 20 seconds and stir in between for best results.
- Using Damp Tools: Water can cause candy melts to seize up. Ensure all tools and cups are completely dry before use.
Storage & Reheating Instructions
Refrigerator Storage
- Store Valentine’s Day Oreo Pops in an airtight container.
- They will last for up to one week in the refrigerator.
Freezing Valentine’s Day Oreo Pops
- Place pops in a single layer on a baking sheet and freeze until solid.
- Transfer them to a freezer-safe container or bag for up to three months.
Reheating Valentine’s Day Oreo Pops
- Oven: Preheat the oven to 200°F (93°C) and warm the pops for about 5-10 minutes.
- Microwave: Heat on low power in 10-second increments if necessary, but this may affect texture.
- Stovetop: Not recommended as it may melt the chocolate coating unevenly.
Frequently Asked Questions
If you’re curious about making Valentine’s Day Oreo Pops, here are answers to some common questions.
How do I make Valentine’s Day Oreo Pops?
To make these pops, twist Oreos apart, insert a lollipop stick with melted candy, dip in colored melts, and add sprinkles before cooling.
Can I customize my Valentine’s Day Oreo Pops?
Absolutely! You can use different colors of candy melts or various types of sprinkles to match your theme or preferences.
What types of sprinkles work best for Valentine’s Day Oreo Pops?
Jumbo hearts, mini hearts, and sugar pearls are perfect choices for decorating these festive treats.
How long does it take to make Valentine’s Day Oreo Pops?
The entire process takes about 30 minutes, including melting time and cooling.
Are Valentine’s Day Oreo Pops suitable for parties?
Yes! They are perfect for parties or classroom treats due to their cute appearance and easy-to-eat design.
Final Thoughts
These Valentine’s Day Oreo Pops are not only quick and simple to make but also allow for endless customization options. Whether you’re celebrating with friends or family, these delightful treats will surely bring joy. Try experimenting with different toppings or colors to create your unique version!

Valentine’s Day Oreo Pops
- Total Time: 20 minutes
- Yield: Makes about 12 pops 1x
Description
Indulge in the joy of creating delightful Valentine’s Day Oreo Pops, a simple yet charming treat that adds sweetness to any celebration. These colorful, festive pops are not only visually stunning but also customizable, making them perfect for school parties, family gatherings, or a cozy night in with friends. With just a few easy steps, you can impress your loved ones with these adorable treats that combine the classic taste of Oreos with vibrant candy coatings and fun sprinkles. Make them together as a family activity or package them as thoughtful gifts—either way, they are sure to spread love and happiness!
Ingredients
- Oreo Cookies
- 4” Lollipop Sticks
- Candy Melts (red, bright pink, bright white)
- Sprinkles (jumbo hearts, mini hearts, sugar pearls)
- Parchment Paper
Instructions
- Twist apart Oreo cookies and insert a lollipop stick dipped in melted candy melts to hold the halves together.
- Coat each pop in melted candy melts of your choice until fully covered.
- Lay pops on parchment paper and immediately decorate with sprinkles.
- Allow to cool completely before serving or packaging.
- Prep Time: 15 minutes
- Cook Time: 5 minutes
- Category: Dessert
- Method: N/A
- Cuisine: N/A
Nutrition
- Serving Size: 1 serving
- Calories: 180
- Sugar: 14g
- Sodium: 75mg
- Fat: 8g
- Saturated Fat: 4g
- Unsaturated Fat: 3g
- Trans Fat: 0g
- Carbohydrates: 26g
- Fiber: 1g
- Protein: 1g
- Cholesterol: 0mg