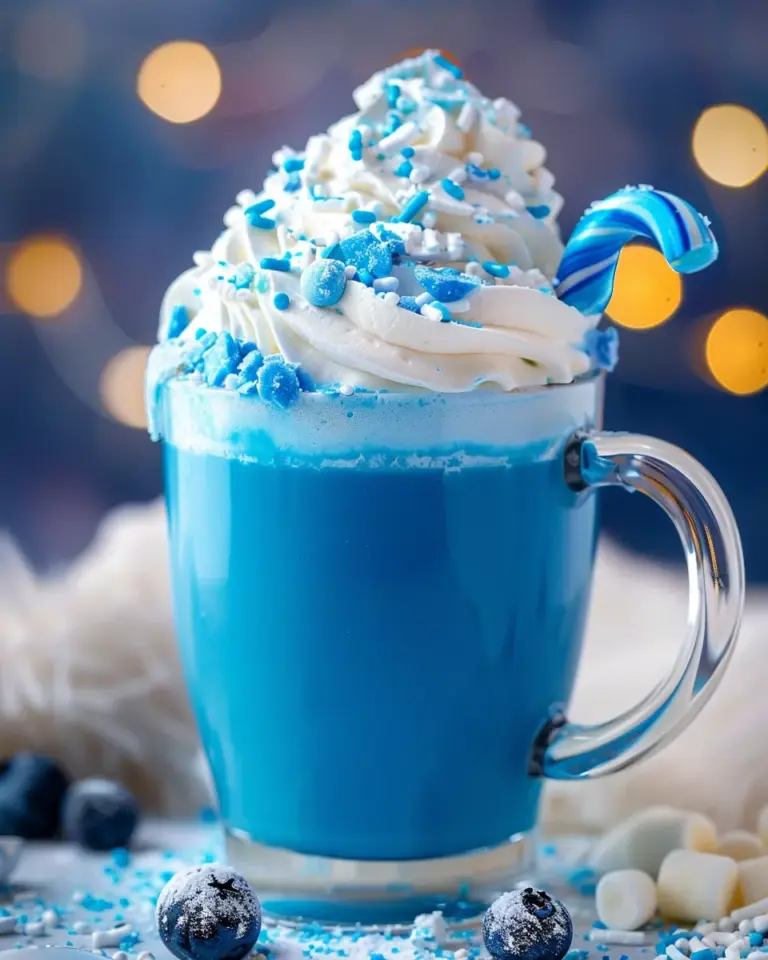
Christmas Elf Hot Chocolate
Making Christmas Elf Hot Chocolate is fast and festive, requiring just 15 minutes from start to finish. This rich, creamy drink is the perfect cozy treat during the holiday season—ideal for sipping by the fireplace or serving at your next Christmas gathering. Follow these clear and easy steps to create a delicious mug of magic that brings out the holiday cheer.
Step 1: Combine Milk and Heavy Cream
Begin by selecting a medium-sized saucepan. Pour in 2 cups of whole milk and 1 cup of heavy cream. This creamy duo forms the base of your hot chocolate, ensuring a rich and smooth texture.
Place the saucepan on the stove over medium heat. As the milk and cream begin to warm, stir gently to help the liquids combine. The key here is to keep the mixture just below boiling—maintain a gentle simmer to avoid scorching the dairy.
Keep an eye on the heat throughout this step. Constant stirring ensures the milk doesn’t stick to the bottom of the pan or form a skin.
Pro Tip:
If you’re short on time, stir frequently to speed up the warming process—but never let the mixture boil. Overheating can ruin the smooth base.
Step 2: Add Dark and White Chocolate Chips
Once the milk and cream mixture is steaming but not boiling, add your chocolate chips. Pour in ½ cup of dark chocolate chips and ½ cup of white chocolate chips. This combination gives the drink depth, balance, and a unique twist that sets it apart from traditional hot chocolate.
Use a whisk or large spoon to stir constantly. As the chocolate chips begin to melt, they’ll blend with the milk mixture to form a velvety, indulgent hot cocoa base. Stirring consistently prevents any clumping or uneven melting.
Be patient—this is where the rich, smooth texture comes to life. If needed, adjust the heat slightly lower to prevent any chance of burning the chocolate.
Pro Tip:
If the chocolate is slow to melt or looking grainy, reduce the heat and keep whisking. You can also melt the chips separately using a double boiler, then stir into the milk for an ultra-smooth finish.
Step 3: Stir in Cocoa Powder, Vanilla, and Peppermint Extract
Now that your chocolate base is fully melted and smooth, it’s time to add the flavor layers that give this drink its Christmas Elf flair.
Add 2 tablespoons of unsweetened cocoa powder. Whisk the powder into the chocolate mixture until it completely dissolves. This step deepens the chocolate flavor and thickens the consistency slightly.
Next, pour in 1 teaspoon of vanilla extract. Vanilla enhances the warmth of the drink and balances the rich cocoa.
Finish with ¼ teaspoon of peppermint extract. Peppermint adds the festive kick that transforms this from everyday hot chocolate to a holiday classic. Use sparingly at first—peppermint is potent. You can always add more if desired.
Pro Tip:
For a stronger mint flavor, add a few crushed candy canes or an extra splash of peppermint extract. Stir well to blend all ingredients into a silky, festive drink base.
Step 4: Heat Until Steamy
Once all your chocolate, cocoa powder, vanilla, and peppermint extract are fully incorporated, continue to heat the mixture gently over medium-low heat. Stir occasionally as the hot chocolate thickens slightly and becomes steamy.
You’ll know it’s ready when the surface starts to shimmer and steam rises steadily from the pan. This final heating stage helps blend all the flavors while bringing the drink to the perfect serving temperature.
Avoid letting the mixture come to a boil—boiling can cause the milk to curdle and the chocolate to separate, which will ruin the smooth texture you’ve worked to create.
Pro Tip:
Use a kitchen thermometer if you want precision. The ideal serving temperature for hot chocolate is about 160°F (71°C)—hot enough to enjoy, but not so hot that it burns your mouth.
Step 5: Pour into Mugs
Turn off the heat and grab your favorite holiday mugs. Carefully pour the hot chocolate mixture into two mugs, dividing it evenly.
If you’re serving a group, you can double or triple the recipe. Simply follow the same process, scaling up all ingredients and using a larger saucepan.
Pour slowly to avoid spills and to preserve the silky texture. The visual contrast between the deep chocolate and the festive toppings you’ll add next makes presentation even more delightful.
Pro Tip:
To keep the drink warm longer, preheat your mugs by filling them with hot water for a minute, then dumping the water before pouring in the hot chocolate.
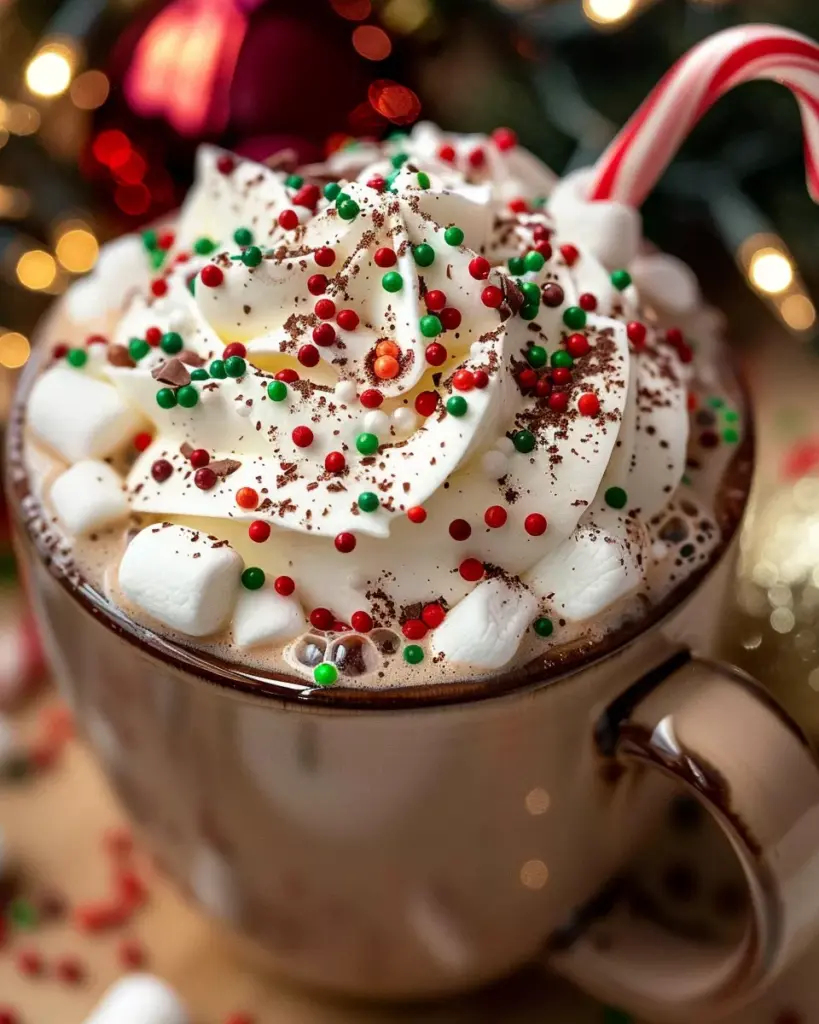
Step 6: Add Whipped Cream and Festive Toppings
Now it’s time to add that magical Christmas touch. Start by topping each mug with a generous swirl of whipped cream. This adds lightness and sweetness to balance the richness of the cocoa.
Next, go wild with your festive toppings:
- Crushed peppermint candies: Add a crunchy, minty pop
- Mini marshmallows: Classic, gooey, and fun
- Colorful holiday sprinkles: Add visual cheer
- Drizzled melted chocolate or chocolate syrup: For an extra indulgent layer
- Edible glitter or gold dust: Makes it sparkle like a holiday ornament
- Mini candy cane stirrer: Adds charm and enhances peppermint flavor
- Cinnamon stick: For a subtle warming spice and aromatic touch
Customize your toppings to suit your guests, mood, or holiday theme. They not only elevate flavor but also make the drink visually festive and fun to share on social media or at parties.
Pro Tip:
Hosting a holiday party? Set up a hot chocolate bar with toppings in small bowls. Let guests create their own festive drink masterpiece with toppings like marshmallow fluff, caramel drizzle, crushed cookies, or flavored syrups.

Tips for Success
Creating the perfect mug of Christmas Elf Hot Chocolate is all about balancing flavor, texture, and temperature. These tips will help ensure every batch is smooth, creamy, and full of holiday magic.
Chocolate Melting Tip
For an even silkier drink, consider melting your chocolate chips in a double boiler before adding them to the milk and cream mixture. This extra step ensures the chocolate melts evenly and prevents clumping or burning.
Preventing Scalding
Always keep your stove set to medium or medium-low heat. Scalding the milk not only risks curdling but also introduces an unpleasant, burnt flavor. Stirring regularly and avoiding boiling helps preserve the drink’s creamy texture.
Sweetness Control
Everyone’s sweet tooth is different. Once the cocoa powder, vanilla, and peppermint are added, give the drink a quick taste. If it needs more sweetness, stir in 1–2 teaspoons of sugar or a drizzle of honey to balance the bitterness of the cocoa and the strength of the peppermint.
Make-Ahead Option
Planning a holiday gathering? You can make the hot chocolate base (Steps 1–4) a few hours ahead of time. Simply refrigerate the mixture and reheat gently on the stove when ready to serve. Wait until just before serving to add whipped cream and toppings for best results.