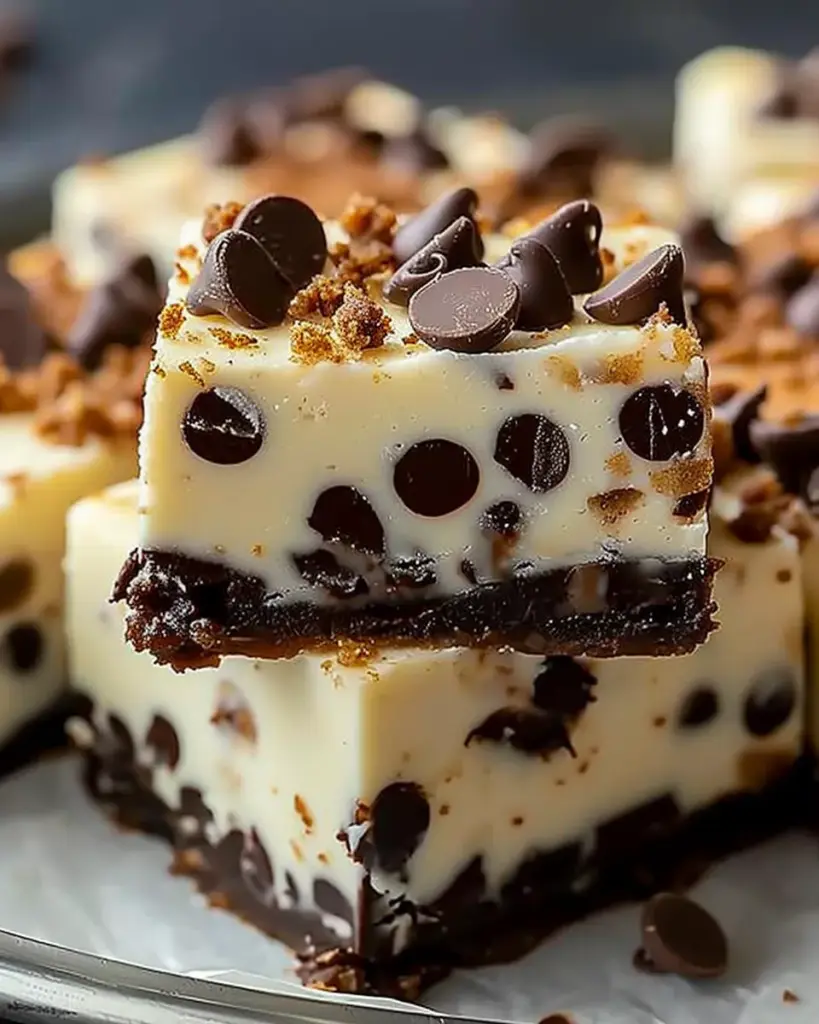
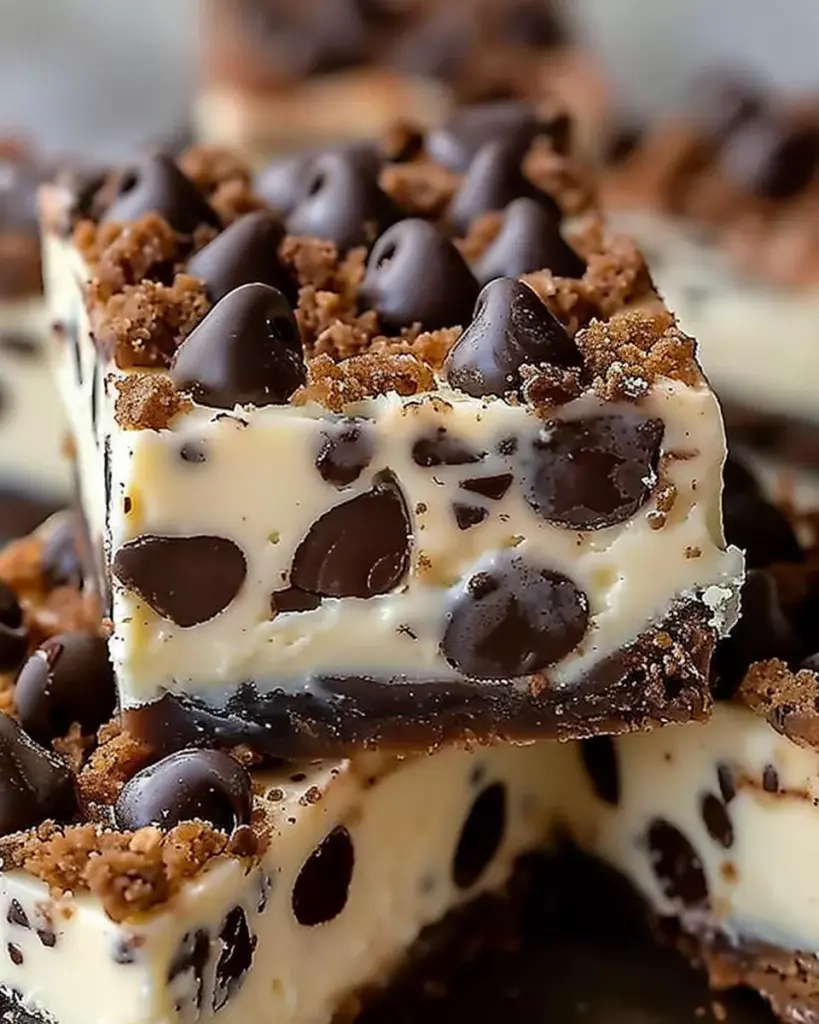
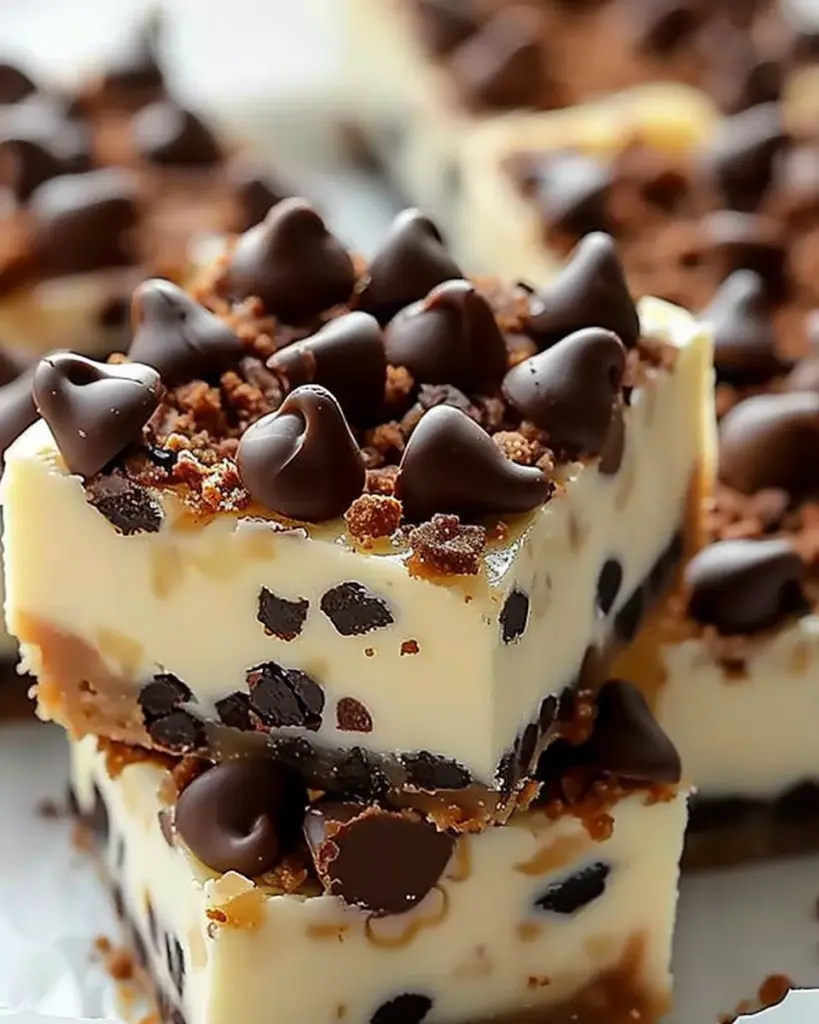
Chocolate Chip Cheesecake Bars: The Ultimate Dessert Recipe
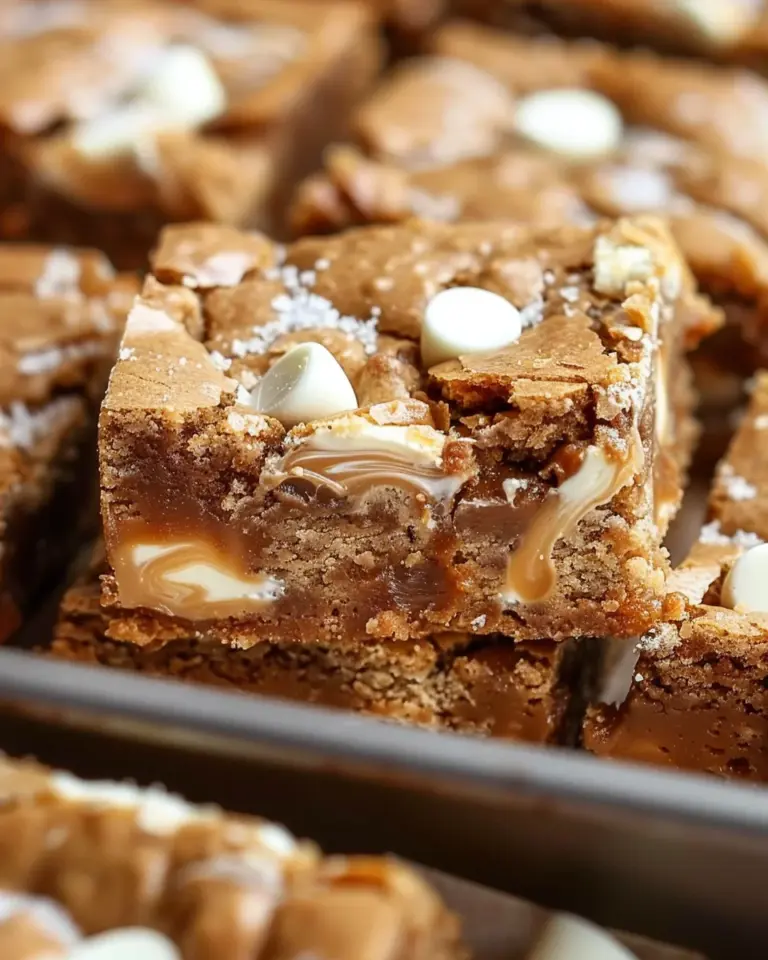
Chocolate chip cheesecake bars are the perfect dessert fusion—bringing together the rich creaminess of a cheesecake with the beloved texture and flavor of chocolate chip cookies. These bars are indulgent yet easy to make, making them a favorite for busy bakers and dessert lovers alike.
Whether you’re preparing for a potluck, birthday party, family gathering, or simply want a sweet treat after dinner, these bars deliver in both flavor and presentation. Their chewy cookie base, luscious cheesecake center, and melty chocolate chips on top make each bite unforgettable.
Why You’ll Love These Bars
- Combines two classic desserts: cheesecake and chocolate chip cookies
- Perfectly portioned for parties or lunchbox treats
- No need for a springform pan or water bath
- Easily customizable with add-ins like nuts or caramel
- Freezer-friendly for future snacking
Preparation Phase & Tools to Use
Essential Tools and Equipment
To create the perfect chocolate chip cheesecake bars, you’ll need:
- 9×13-inch baking pan – Ideal for a generous batch
- Parchment paper – For easy removal and clean slicing
- Mixing bowls – One for the cookie dough and one for the cheesecake filling
- Hand or stand mixer – For smooth, lump-free cream cheese
- Rubber spatula – For spreading and mixing
- Measuring cups and spoons – To ensure ingredient accuracy
- Wire cooling rack – Helps the bars cool evenly
- Sharp knife – For clean cuts once chilled
Importance of Each Tool
- Mixer – Crucial for achieving a smooth cheesecake layer without lumps
- Parchment paper – Allows easy lift-out and prevents sticking
- Sharp knife – Essential for clean slicing, especially after chilling
Preparation Tips
- Use room-temperature cream cheese and eggs to avoid lumps
- Line the pan with parchment, leaving an overhang for easy lifting
- Press the cookie dough evenly to form a solid base
- Let the bars cool completely before slicing for neat pieces
Ingredients
For the Chocolate Chip Cookie Dough
- 2 ¼ cups all-purpose flour
- ½ teaspoon baking soda
- 1 cup unsalted butter, room temperature
- ½ cup granulated sugar
- 1 cup packed light brown sugar
- 1 teaspoon salt
- 2 teaspoons vanilla extract
- 2 large eggs
- 2 cups semi-sweet chocolate chips
For the Cheesecake Filling
- 16 oz full-fat cream cheese, softened
- ½ cup granulated sugar
- 1 large egg
- 1 teaspoon vanilla extract
Step-by-Step Directions
Step 1: Preheat and Prepare the Pan
- Preheat oven to 350°F (175°C)
- Line a 9×13-inch baking pan with parchment paper, leaving an overhang on the sides
Step 2: Make the Cookie Dough
- In a medium bowl, whisk together flour and baking soda. Set aside.
- In a large mixing bowl, cream the butter and sugars until light and fluffy.
- Add eggs and vanilla, beating well after each addition.
- Gradually mix in dry ingredients until just combined.
- Fold in chocolate chips.
Step 3: Press Dough into Pan
- Spread about two-thirds of the cookie dough evenly in the bottom of the prepared pan. Press to form a crust.
Step 4: Make the Cheesecake Filling
- Beat softened cream cheese and sugar until smooth.
- Add egg and vanilla; mix until fully combined and creamy.
Step 5: Layer the Cheesecake and Cookie Dough
- Pour the cheesecake mixture over the cookie dough base.
- Dollop the remaining cookie dough over the top in small chunks.
Step 6: Bake
- Bake for 35–40 minutes, or until the top is golden and the cheesecake layer is set.
Step 7: Cool and Chill
- Cool completely at room temperature.
- Refrigerate for at least 2 hours before slicing for clean cuts.
Serving Suggestions
Chocolate chip cheesecake bars are incredibly versatile when it comes to presentation and pairing. Whether served chilled straight from the fridge or at room temperature for a softer texture, they adapt well to different occasions.
When to Serve These Bars
- Potlucks and Bake Sales: Their firm structure makes them easy to stack and transport.
- Birthday Parties: Offer as an alternative or complement to traditional cake.
- Holiday Dessert Tables: Especially popular during Thanksgiving, Christmas, and Easter.
- Coffee or Tea Time: A sweet companion to hot beverages.
- Weeknight Treat: Make ahead and store in the fridge for an easy weeknight indulgence.
How to Serve
- Slice into small squares (16 to 24 bars) for bite-sized party portions
- Serve with a dollop of whipped cream and chocolate shavings
- Plate with fresh berries for a touch of tart contrast
- Dust lightly with powdered sugar for a polished look
Common Mistakes to Avoid & How to Perfect the Recipe
Even though this recipe is beginner-friendly, avoiding these common errors ensures your bars turn out bakery-quality every time.
Mistake #1: Overmixing the Cheesecake Batter
- Avoid: Overbeating introduces too much air, which can cause cracking during baking.
- Fix: Mix just until smooth and combined. Scrape the bowl to incorporate without overworking.
Mistake #2: Using Cold Cream Cheese
- Avoid: Cold cream cheese doesn’t blend well, leading to a lumpy filling.
- Fix: Let cream cheese sit at room temperature for at least 30 minutes before mixing.
Mistake #3: Uneven Cookie Dough Layers
- Avoid: Too much dough on top can overcook while the filling is underbaked.
- Fix: Use about two-thirds of the dough for the base and the rest for topping. Crumble or flatten pieces for even baking.
Mistake #4: Not Letting the Bars Chill Fully
- Avoid: Cutting too soon causes the filling to ooze and the bars to fall apart.
- Fix: Cool completely, then refrigerate for at least 2 hours or overnight before slicing.
Mistake #5: Skipping Parchment Paper
- Avoid: Bars may stick to the pan or break during removal.
- Fix: Line your pan with parchment, leaving a bit of overhang on all sides.
Side Dish Recommendations
Although these bars are a dessert, pairing them with the right beverages or light sides can enhance the overall experience, especially for entertaining.
Light & Fresh Complements
1. Fresh Berries with Mint
- Strawberries, blueberries, or raspberries add a refreshing tart contrast.
2. Fruit Salad
- A chilled mix of melon, citrus, and kiwi balances the richness of the cheesecake.
3. Whipped Cream with Lemon Zest
- Light and airy, this helps cut through the density of the bars.
4. Yogurt Parfait
- Layer vanilla yogurt with granola and fruit for a lighter bite between sweet servings.
Beverage Pairings
5. Hot Coffee or Espresso
- The bitterness of coffee pairs beautifully with the sweetness of the bars.
6. Cold Brew or Iced Coffee
- Refreshing for warm-weather servings; balances the richness.
7. Herbal or Green Tea
- Especially peppermint or chamomile to offset the creamy texture.
8. Vanilla Almond Milk
- A dairy-free, lightly sweet pairing for a cleaner finish.
Recipe Tips
- Use full‑fat cream cheese and ensure it is softened to room temperature for the smoothest filling.
- Avoid overmixing the cheesecake batter, as that can introduce air and lead to cracking and uneven texture.
- Use a light‑colored metal baking pan rather than dark metal, glass or ceramic. Metal helps with even heat distribution; glass/ceramic may cause dry edges or underbaked centers.
- Press the cookie dough base firmly and evenly into the pan to ensure a solid crust that supports the cheesecake layer.
- Allow the baking bars to cool slowly and then chill fully — this helps the texture set and makes slicing cleaner.
- When slicing, use a sharp knife warmed in hot water and wiped clean between cuts for clean lines.
Storage and Reheating Instructions
Storage
- Once fully cooled and chilled, store the bars in an airtight container in the refrigerator. According to sources, they keep well for about 3‑5 days.
- If you prefer, you can wrap individual bars or the whole slab and freeze. When sealed properly, freezing extends storage up to 1‑3 months (or even up to 6 months in some cases).
Freezing & Reheating
- To freeze: let the bars cool and chill, then wrap individually (or layer with parchment) in a freezer‑safe bag or container.
- To rehear: thaw in the refrigerator overnight, or allow at room temperature for 15‑30 minutes before serving for best texture. Avoid microwaving too long, as cheesecake texture may suffer.
- Note: After freezing or extended fridge time, the cookie dough portion may soften slightly due to moisture from the cheesecake layer—still delicious, just slightly different texture.
FAQs
Q1: Can I use store‑bought cookie dough instead of making cookie dough from scratch?
Yes. You may use store‑bought dough for the base and/or topping layer. Just press it into the pan as specified and bake according to the package and recipe instructions. (Some modifications may apply.)
Q2: Do I need a water bath like a traditional cheesecake?
No. Unlike full‑size cheesecakes, these bars don’t require a water bath or springform pan. They bake with the cookie dough layers and are simpler to assemble.
Q3: My cheesecake layer cracked during baking. What happened?
Cracking can occur if the filling is overbeaten (too much air) or the bars are cooled too fast. Avoid overmixing, beat until just combined, and let them cool gradually.
Q4: Can I make this ahead of time?
Absolutely. You can bake the bars and chill them in the fridge ahead of serving. In fact, many sources recommend chilling overnight for best flavour and texture.
Q5: Can I substitute ingredients (for example, low‑fat cream cheese or gluten free flour)?
Yes, but results may vary. Full‑fat cream cheese yields the best creamy texture. If you switch to gluten free flour or almond flour, expect textural changes. Some recipes report success with almond flour, but the cookie layer may be different.